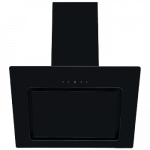
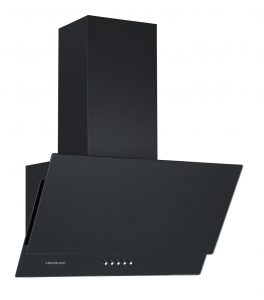
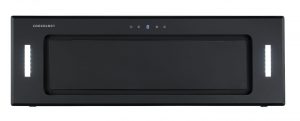
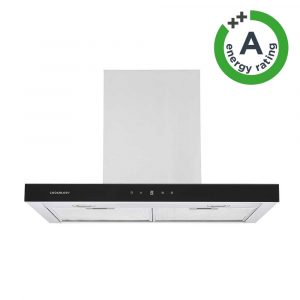
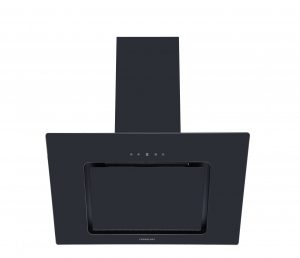
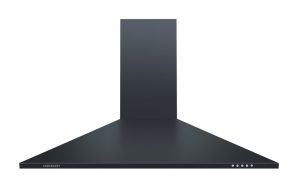
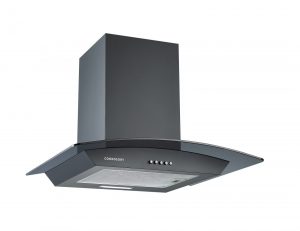
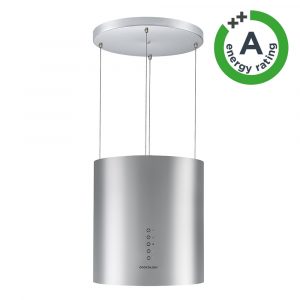
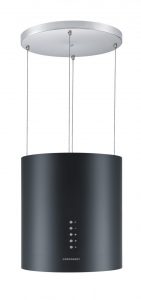
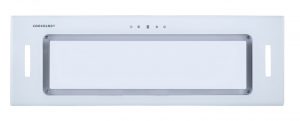
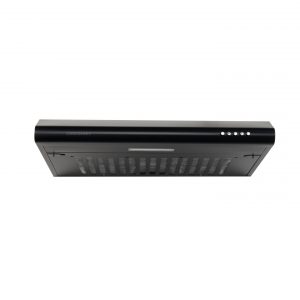
Extractor fans have fast become a kitchen must-have. Not only do they look the part, they can save you serious time and effort; by removing odours and grease from the air, they help keep your kitchen clean, hygienic and fresh. But they can’t continue to do this indefinitely without maintenance.
To help you extract maximum performance from your cooker hood for years to come, we’re going to run through the ins and outs of extractor fan maintenance right here. Below, we’ll cover the importance of filters, why they should be changed, how often they need to be changed and how the process works.
Why change your extractor fan filter?
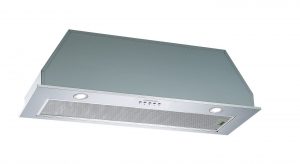
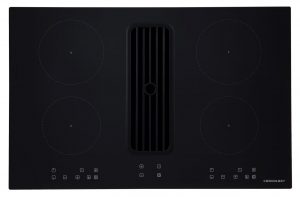
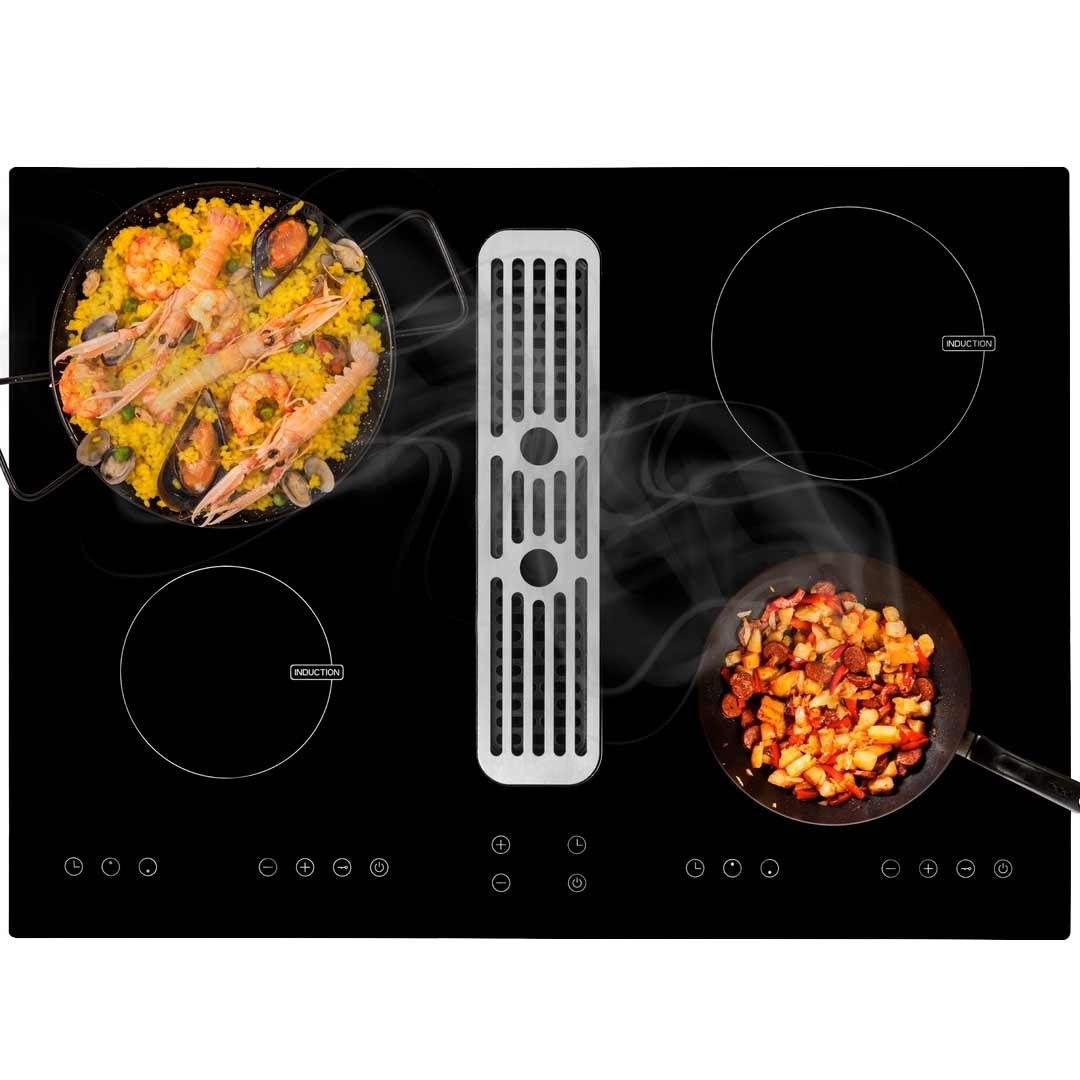
In order to work effectively and extract fumes from your hob, a cooker hood relies on two key elements: an electric fan and a filtration system. The fan is responsible for drawing the air upwards into the hood (or downwards if you have a downdraft extractor), while the filtration system removes any unwanted particles and odours from the air. The clean air is then recirculated into the kitchen or vented to the outdoors, depending on your setup.
So, if your extractor fan’s filters become clogged, the appliance won’t be able to do its job – it becomes little more than a glorified light source above your hob. Cleaning or replacing these filters regularly is key.
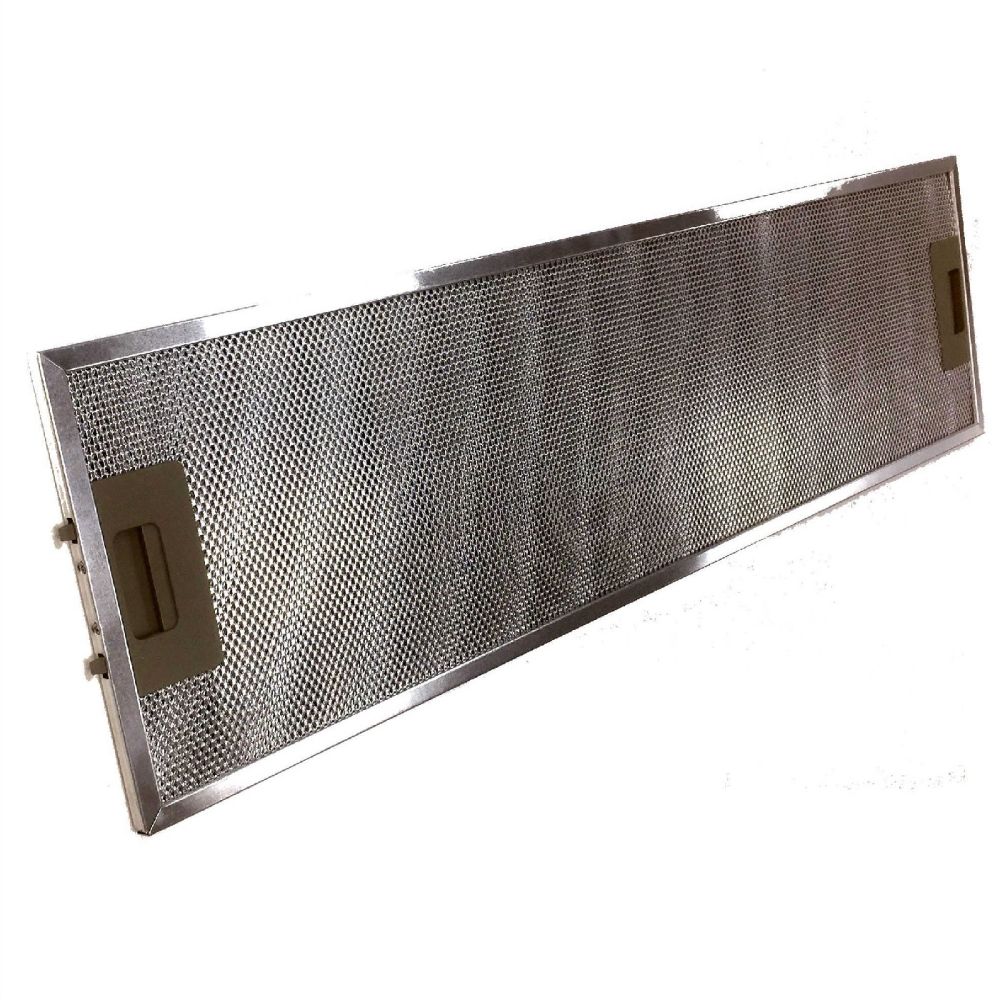
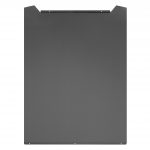
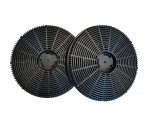
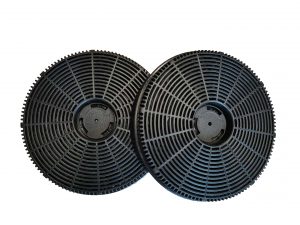
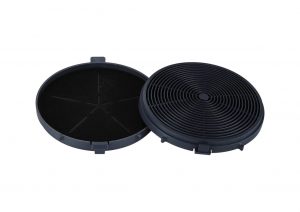
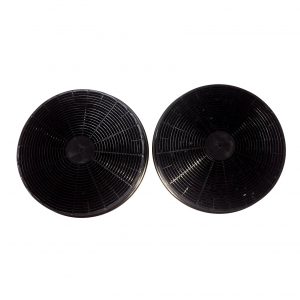
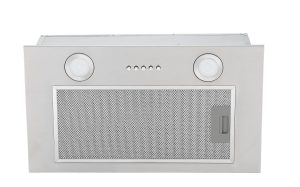
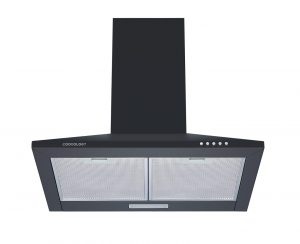
Depending on the style of cooker hood you have, there could be either a single filter or a pair. Some models just come with grease filters, which are usually made of a mesh material, while others also come fitted with charcoal or carbon filters to help rid the air of any pungent odours. Each type of filter needs cleaning or replacing: neither are ‘fit and forget’ items.
Can extractor filters be cleaned?
This depends on the type of filter that’s fitted to your cooker hood. If it only has a grease filter, this can usually be cleaned (although it will eventually need replacing). Some grease filters can be placed in the dishwasher, while others should be washed by hand using a degreaser. If you’re unsure, always consult your extractor’s instruction manual and stick with cleaning techniques that have been recommended by the manufacturer.
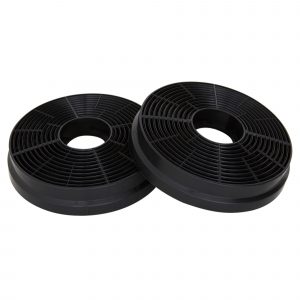
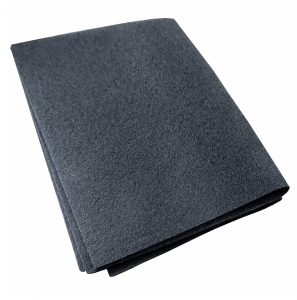
Charcoal recirculating filters, on the other hand, can’t be cleaned. Once they’re worn out, they need to be replaced entirely. Don’t panic, though: charcoal filters are very affordable. Depending on the size of the filters installed in your extractor hood, you can often pick up replacements for as little as £15. If you ask us, that’s a small price to pay to keep your kitchen clean and odour-free.
How often should I replace my filters?
Again, this will vary depending on the type of cooker hood you have and how regularly you use it. Grease filters require more frequent maintenance, with most manufacturers recommending a thorough clean every three months. If you use your extractor infrequently, the grease filter might not need to be cleaned quite so regularly; it’s best to at least remove the filter and inspect it every three months and clean it as and when it becomes clogged.
Charcoal filters tend to perform at their optimum for longer than grease filters. Depending on the type of cooker hood you have, you may only need to replace the charcoal filter once a year – they’re pretty effective at removing odours and particles from the air.
Please note that these timeframes are nothing more than rough guidelines: always stick to the manufacturer’s recommended maintenance intervals for your specific model of extractor. If you can’t seem to find this information, keep an eye on the performance of the extractor. If it’s not removing odours from the air quite as well as it once did, the filters probably need cleaning or replacing.
How easy is it to replace a filter?
Because filters are a maintenance item, manufacturers of extractor hoods have thought ahead and made them pretty easy to remove and replace. The removal and reinstallation process will vary a little depending on the make and model of your extractor, but it’s generally quite simple.
Once you’ve located the filter, you’ll typically have to remove some clips or fasteners to free it from the extractor hood. Once you release these fixings, carefully remove the filter, paying close attention to the way it was installed. Sometimes, filters aren’t entirely symmetrical and need to be reattached in a specific way, so it’s worth removing the old filter slowly and taking note of its orientation as you do so.
Reassembly is generally the reverse of the removal process. Before you try to install the replacement filter, compare it against the old one to make sure it’s the correct size and shape. And don’t be tempted to leave out any clips or fasteners: if the filter isn’t securely attached, some air is likely to force its way past the filter, reducing its effectiveness.
As always, if you’re not sure how to tackle this job, consult your hood’s instruction manual beforehand. Every cooker hood is different so, even if you’ve replaced a filter previously on a different model, the process might not be the same for your current hood.
Discover our range of cooker accessories
That wraps up our guide to kitchen extractor fan filters – we hope it answered all your questions. If you’re still a little stuck and need help replacing the filter on your Cookology extractor fan, don’t hesitate to ask our team for help.
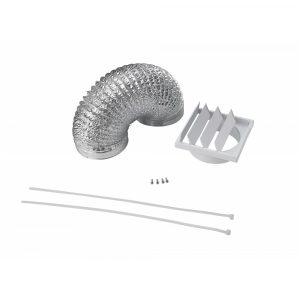
Need a replacement filter? Our range of cooker hood accessories has you covered. From ducting kits to replacement components, we stock everything you need to get the most out of your extractor fan and maintain its functionality for years to come.
Cookology Replacement Filters
Shop Now